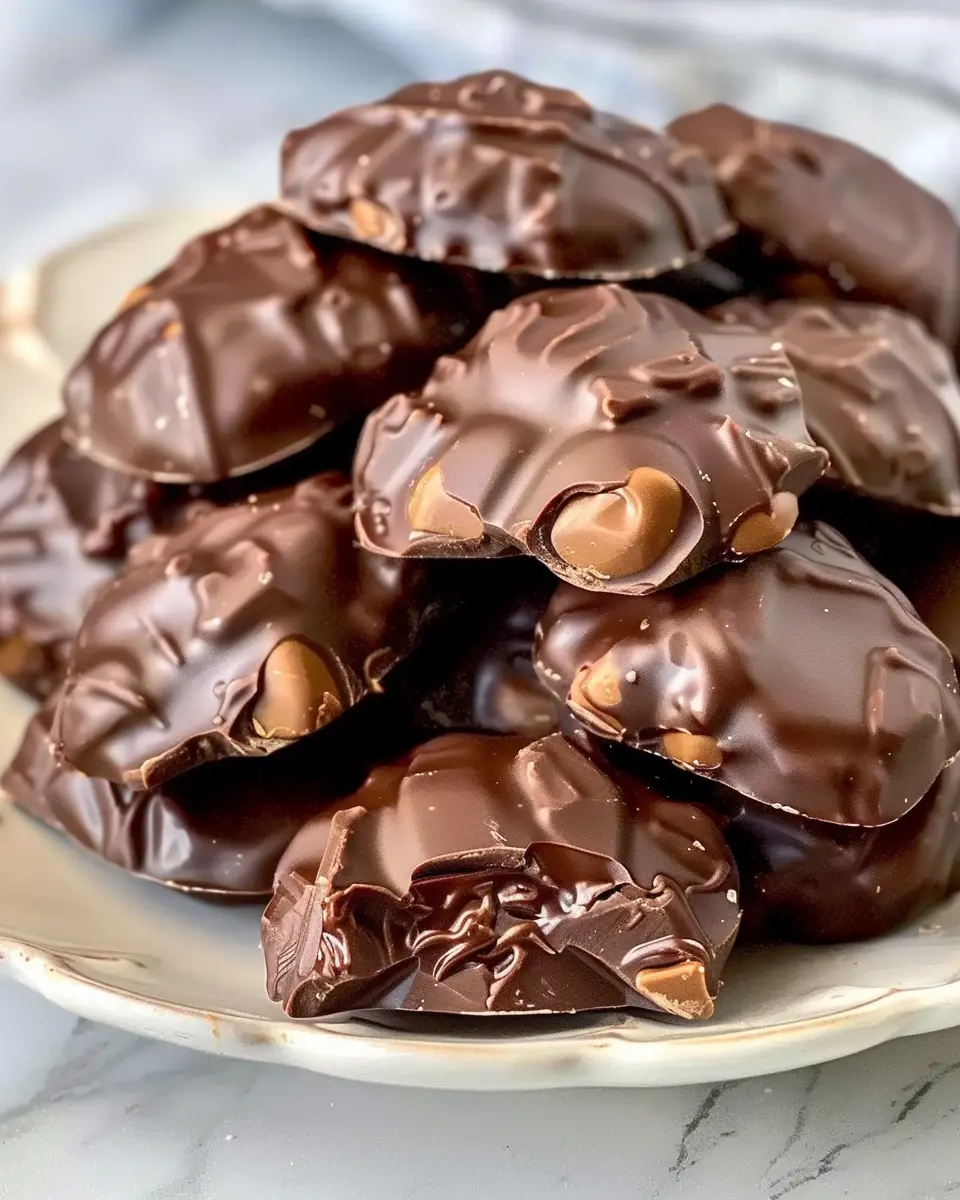
Introduction to Homemade Chocolate Turtles
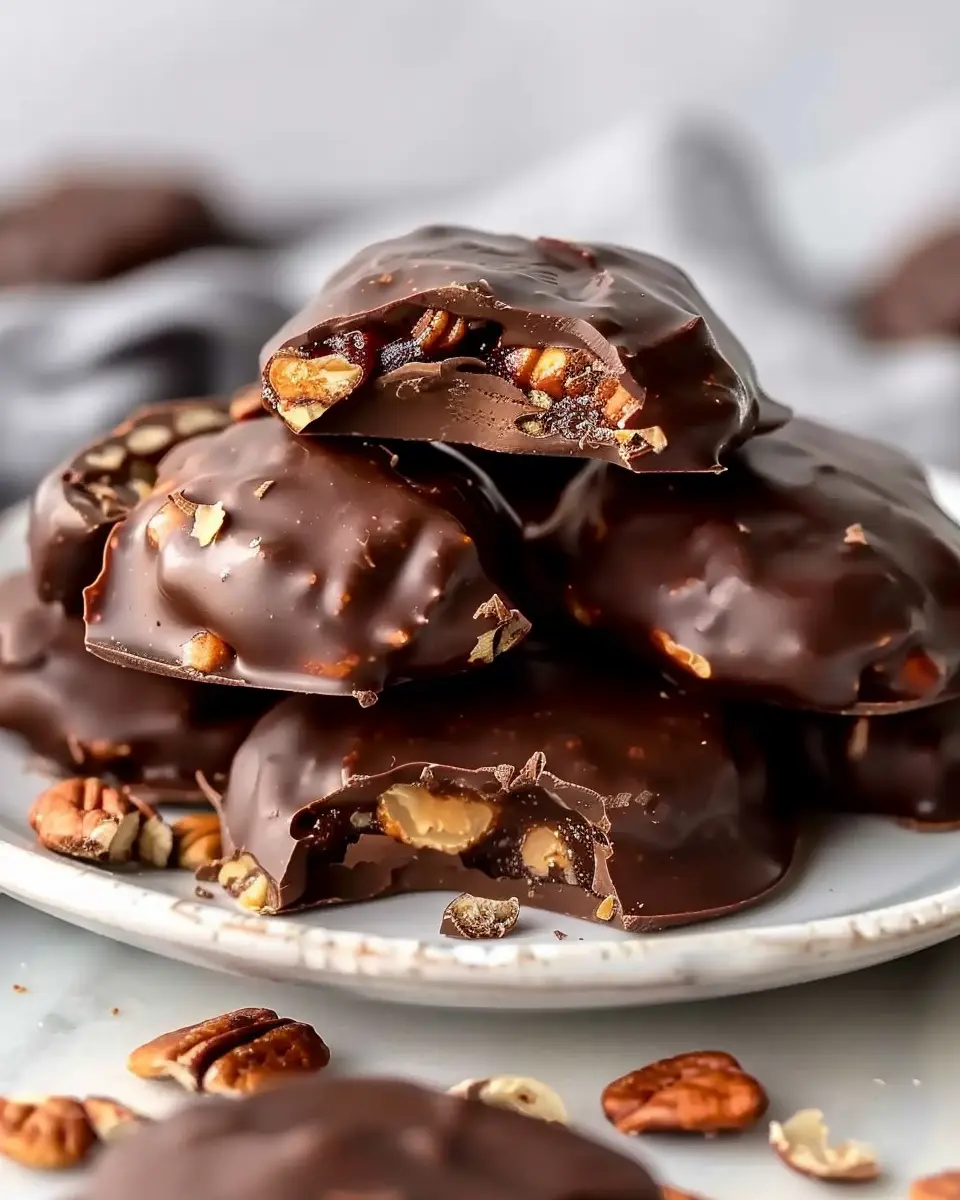
When that sweet craving hits, reaching for fast food or pre-packaged treats might feel like the easy route. However, there’s something exceptionally satisfying about making your own delights, like homemade chocolate turtles. These sweet treats combine the rich, creamy goodness of chocolate with the crunchy texture of pecans and a delightful layer of caramel. Not only do they promise a flavor explosion, but they also offer an opportunity for some homemade fun in the kitchen!
Creating homemade chocolate turtles might seem daunting, but trust me, it’s easier than you think. All you need are a few simple ingredients and some time to spare. You’ll be amazed at the difference fresh, homemade flavors make. Plus, making your own allows you to control the ingredients, which is particularly great if you have dietary restrictions or just want to experiment with healthier options.
Did you know that according to the National Confectioners Association, 90% of Americans enjoy chocolate? It’s no wonder that homemade chocolates have stood the test of time as a beloved treat. Making your own allows you to skip preservatives and additives found in mass-produced alternatives. Just think about the satisfaction of crafting a batch of chocolate turtles to share with friends or to indulge in on a cozy night in.
Not only do these candies taste divine, but they also make the perfect gift! Whether you’re looking to impress your coworkers, brighten a friend’s day, or just treat yourself, having a stash of homemade chocolate turtles on hand is a game-changer.
To get started, you’ll need some basic kitchen tools but don’t worry, nothing you can’t handle. Ready to dive in? With the right prep and a sprinkle of patience, you’ll create these delightful candies that will have everyone asking for seconds. If you’re intrigued and ready to embark on this sweet adventure, let’s explore the recipe and whip up something special together!
Ingredients for Homemade Chocolate Turtles
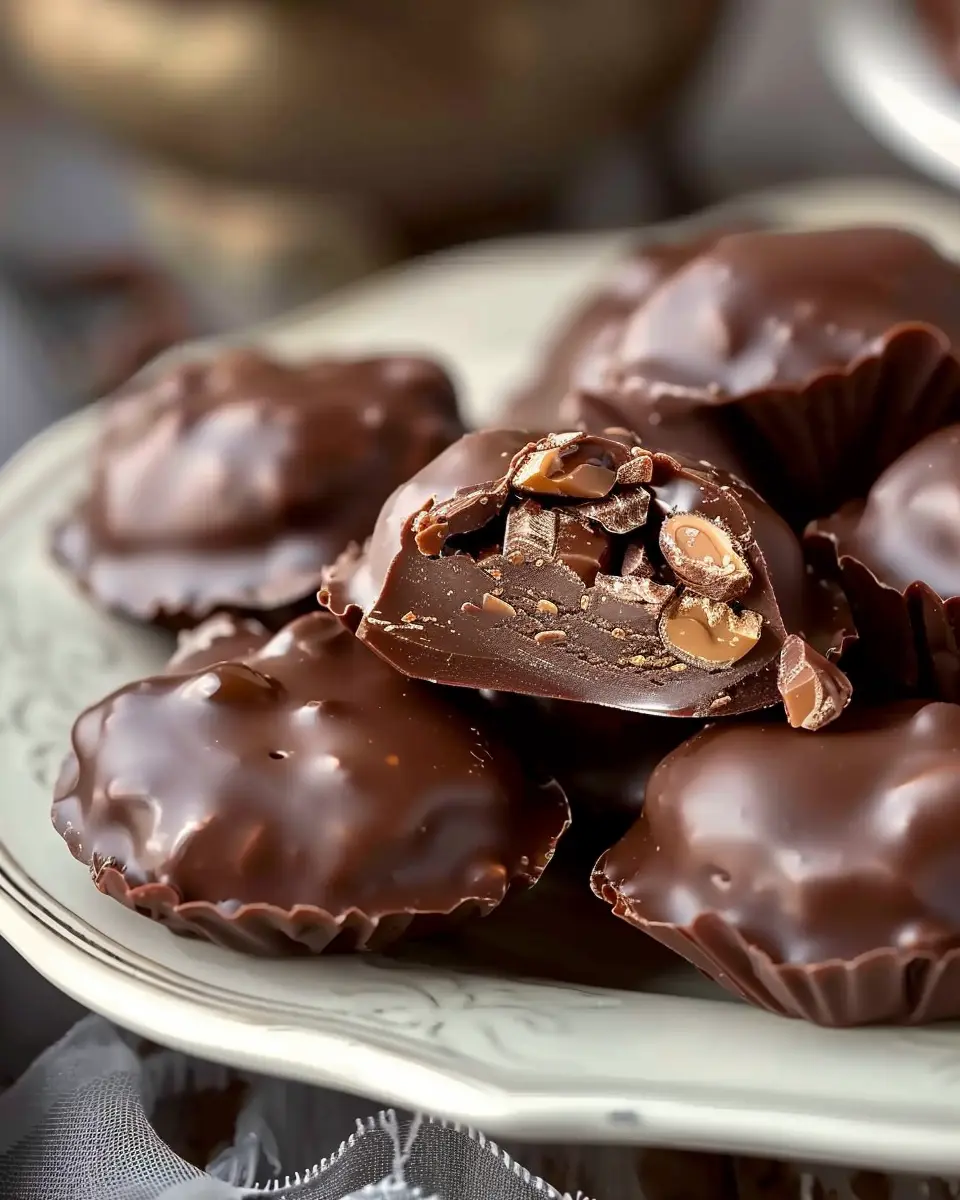
If you’re dreaming of creating your own homemade chocolate turtles, you’re in for a delightful treat. These delicious confections blend chocolate, caramel, and nuts into a bite-sized piece of heaven. To get started, gather these essential ingredients:
- Pecans: About 2 cups, generously chopped or left whole, depending on your preference. They provide a delightful crunch!
- Caramels: You’ll need around 14 ounces. If you’re feeling adventurous, consider making your own caramel from scratch.
- Dark Chocolate: Opt for 8 ounces of high-quality dark chocolate for that rich flavor. Milk chocolate also works great for a creamier texture.
- Sea Salt: A sprinkle of sea salt on top can elevate the sweetness and add a tantalizing contrast.
- Butter & Heavy Cream: You’ll need these for melting and mixing the caramel to achieve that silky smooth consistency.
These simple yet flavorful ingredients make for the perfect homemade chocolate turtles. Not only are they fun to make, but they’re a wonderful treat to share with friends or impress at gatherings. For an extra touch, consider pairing your turtles with a warm cup of cocoa or your favorite hot beverage – the combination is simply delightful!
For more inspiration, you can check out the delightful world of caramels on Serious Eats. Enjoy your sweet adventure!
Step-by-Step Preparation of Homemade Chocolate Turtles
Creating your very own homemade chocolate turtles may seem daunting, but trust me, every step is a joy, and the sweet rewards far outweigh the effort. Let’s dive into this delicious endeavor!
Preheat and Toast Pecans
Start by preheating your oven to 350°F (175°C). This initial step is vital as it helps to enhance the natural flavor of the pecans. While your oven preheats, spread the pecans evenly on a baking sheet.
- Toast these for about 8–10 minutes, giving them a light stir halfway through.
- Keep an eye on them—pecans can go from perfectly toasted to burnt in moments! The aroma that fills your kitchen will be wonderfully nutty and inviting.
Once they’re done toasting, let them cool. This isn’t just a good practice; it sets the stage for the perfectly crunchy base of your homemade chocolate turtles.
Prepare the Baking Sheet
Next, line another baking sheet with parchment paper. This step is all about convenience. The parchment paper ensures that your turtles won’t stick, making cleanup a breeze while preserving the flavor and aesthetic of your creations.
- Use the back of a spoon to smooth the parchment if there are wrinkles; you want a clean, flat surface to work on.
Having this ready will keep things organized as you move on to the next steps.
Create the Caramel Mixture
Let’s make that delicious caramel! In a medium saucepan over medium heat, combine 1 cup of sugar, 6 tablespoons of butter, and ¼ cup of heavy cream.
- Stir gently until everything is melted and it begins to boil.
- You don’t want to rush this, so be patient; good caramel takes time!
As the mixture bubbles, maintain a close watch. Once it reaches a golden hue (this will usually take about 5–7 minutes), remove it from the heat. Allow it to sit for just a minute—this wait will ensure it thickens slightly and becomes easier to pour.
Form the Turtles
Using a spoon, scoop a small mound of toasted pecans (about 4-5 pecan halves) and form a little cluster on the prepared parchment paper.
- Then, drizzle the warm caramel over the pecan mound, allowing it to pool and cover the nuts.
Repeat this with the remaining pecans and caramel. Don’t stress if they don’t look perfect—each unique turtle has its own charm!
Melt the Chocolate
As your caramel begins to cool and set, it’s time to melt the chocolate. Use either a double boiler or a microwave to melt 1 cup of chocolate chips.
- If using the microwave, heat the chips at 30-second intervals, stirring thoroughly each time until smooth.
This step is crucial for a deliciously rich coating on your homemade chocolate turtles.
Dip and Set the Turtles
Once your chocolate is ready, go ahead and dip each turtle into the melted chocolate, ensuring they are fully coated.
- Place them back on the parchment paper to set.
For faster setting, you can pop them in the fridge for about 15–20 minutes. But really, the toughest part is waiting for your tempting creations to fully chill!
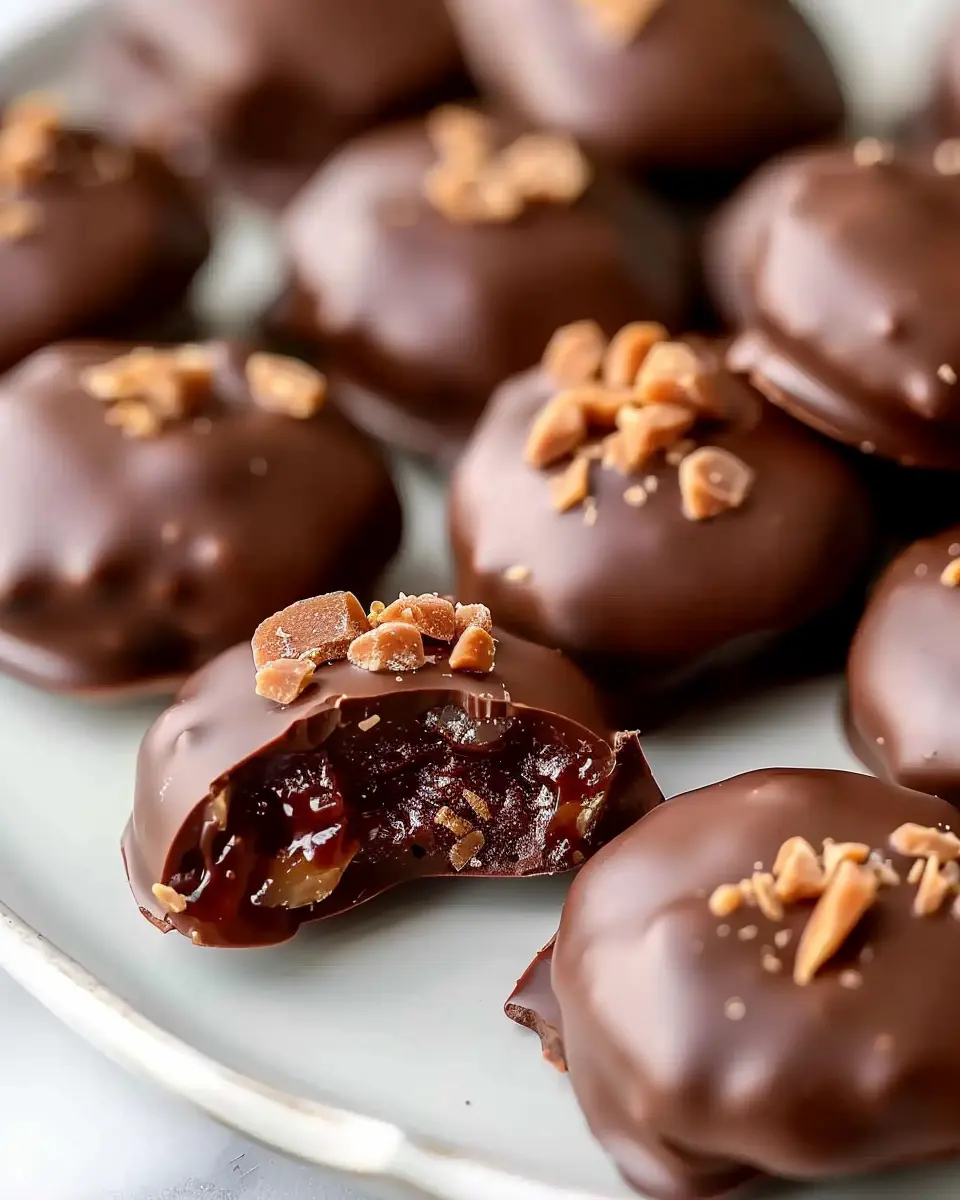
And there you have it! Once set, you’re left with a batch of delightful homemade chocolate turtles perfect for sharing (or indulging in all by yourself).
For a touch of personalization, consider adding a sprinkle of sea salt on top before the chocolate hardens—it elevates the flavors beautifully! For more inspiration on dessert pairings, check out sites like Food52 for innovative ideas.
Enjoy your sweet creation; you’ve earned it!
Variations on Homemade Chocolate Turtles
When it comes to homemade chocolate turtles, the classic combination of caramel, nuts, and chocolate is just the beginning. Let’s explore some tasty variations that cater to different preferences!
Classic Chocolate Turtles with Pecans
Nothing beats the traditional flavor of classic chocolate turtles! Start with buttery caramel, add toasted pecans for that delightful crunch, and cover it all with rich milk chocolate. This combination creates an irresistible treat that’s perfect for any occasion.
Consider using high-quality pecans to enhance the nuttiness and flavor. You can find great options at places like Nuts.com or your local health store.
Nut-Free Chocolate Turtles
For those with nut allergies, you don’t have to miss out on the fun. Swap out the pecans for sunflower seeds or crispy rice. These alternatives still provide that awesome crunch and unique texture you crave. Just make sure to check labels for cross-contamination if you’re preparing these for someone with allergies.
To make the caramel, use maple syrup instead of traditional corn syrup. It not only adds a different but delicious flavor but is also a great choice for vegan diets!
Decadent Dark Chocolate Turtles
If you’re a chocolate lover, why not elevate your homemade chocolate turtles with dark chocolate? Choose a rich, high-cacao dark chocolate to complement the sweetness of the caramel. This variation is slightly bittersweet, creating a perfect balance that appeals to those who prefer deeper flavors.
You could even sprinkle sea salt on top before the chocolate sets, enhancing both flavor and presentation. Everyone loves a visually appealing treat, right?
Feel free to experiment with these variations and find your new favorite way to enjoy homemade chocolate turtles!
Cooking Tips and Notes for Homemade Chocolate Turtles
Creating homemade chocolate turtles is a delightful experience that can be enhanced with a few handy tips.
Choose the Right Nuts
Pecans are the traditional choice for turtles, but you can switch it up with almonds or walnuts if you’re feeling adventurous. Always toast the nuts lightly to enrich their flavor—just a few minutes in the oven does wonders!
Get the Chocolate Just Right
When melting chocolate for your turtles, opt for high-quality chocolate for the best results. Use a double boiler to avoid scorching the chocolate. If you’re in a pinch, microwave it in short intervals, stirring frequently. A chocolate thermometer is a handy tool to ensure you’re achieving the perfect melting point.
Assembly Tips
When layering your homemade chocolate turtles, allow the caramel to cool slightly before pouring it over the nuts. It should be sticky enough to hold everything together without sliding off.
Storage Suggestions
Keep your turtles in an airtight container at room temperature. If you live in a warm climate, consider refrigeration to prevent melting. They can also last for a couple of weeks—if you don’t eat them all at once!
By applying these tips, you’re well on your way to making irresistible homemade chocolate turtles that will impress your friends and family. Enjoy your sweet creation! For more chocolate-related inspiration, check out The Chocolate Life for expert advice!
Serving Suggestions for Homemade Chocolate Turtles
When it comes to serving your delightful homemade chocolate turtles, the possibilities are as delicious as the treats themselves! Here are a few ideas to make your presentation pop and satisfy all types of cravings:
Delightful Dessert Platter
Create a stunning dessert platter by arranging your chocolate turtles alongside fruits like strawberries or orange slices. Not only do these bright colors enhance the visual appeal, but the sweetness of the fruit complements the rich chocolate.
Perfect Pairings
Pair your homemade chocolate turtles with some delicious hot beverages. A steaming cup of herbal tea or creamy cocoa makes for a cozy treat when indulging in these sweets. If you’re feeling adventurous, try adding a dash of cinnamon or a sprinkle of nutmeg to your drink for an extra kick.
Gift-Worthy Treats
Looking for a fun way to share the joy? Package your chocolate turtles in cute little boxes or jars, and tie them up with a ribbon. These make fantastic gifts for friends, coworkers, or as housewarming treats. Want more ideas? Check out this article on creative gifting here.
Themed Events
Planning a party? Consider making your homemade chocolate turtles match the theme! For a movie night, serve them alongside popcorn and your favorite films, while a holiday gathering could feature festive decorations that celebrate the season.
With just a little creativity, your homemade chocolate turtles can shine on any occasion!
Time Breakdown for Homemade Chocolate Turtles
Creating homemade chocolate turtles is not only a delightful project but also an enjoyable way to indulge your sweet tooth. Here’s a quick look at the time you’ll need for this treat:
Preparation Time
Gathering your ingredients and setting up your workspace takes about 15 minutes. Make sure your pecans are ready to go, and your chocolate is within arm’s reach!
Cooking Time
Once you’ve prepared, melting the chocolate and assembling your turtles won’t take long—approximately 20 minutes. A little extra patience during the melting process leads to a smoother chocolate finish.
Total Time
In total, you’re looking at around 35 minutes from start to finish. With such quick prep and cook times, you can whip these up as a last-minute gift for a friend or a sweet treat for movie night. For more tips on making the perfect chocolate melt, check out this guide on chocolate tempering.
Nutritional Facts for Homemade Chocolate Turtles
Calories
When indulging in homemade chocolate turtles, it’s helpful to know that each piece typically contains around 150–200 calories. This delightful treat is perfect for satisfying your sweet tooth without going overboard. The calories primarily come from the chocolate, nuts, and caramel, making them a luxurious yet manageable dessert option.
Sugar Content
Expect approximately 15–20 grams of sugar per turtle. While sugar is an essential component of the rich flavor, it’s wise to keep moderation in mind. If you’re looking to reduce sugar intake, consider using dark chocolate as a healthier alternative, as it contains less sugar compared to milk chocolate and offers beneficial antioxidants.
Fats
These treats pack a bit of richness with around 10–12 grams of fat per piece, mainly from the nuts and chocolate. While fats are often labeled as the enemy, healthy fats like those from nuts can actually promote heart health when consumed in moderation.
For more detailed insights on nutritional balances, check out the USDA FoodData Central for comprehensive food information. And remember, enjoying homemade chocolate turtles in moderation is key to a balanced diet!
FAQs about Homemade Chocolate Turtles
Can I use different types of nuts?
Absolutely! While traditional homemade chocolate turtles often use pecans, feel free to get creative with your nut choices. Almonds, walnuts, or cashews can bring their unique flavors and textures to the mix. Just ensure your nuts are roasted and unsalted for the best taste. Not sure which one to use? Almonds offer a milder flavor, while walnuts have a rich earthiness that can add an interesting twist.
How do I store my chocolate turtles?
Storing your homemade chocolate turtles properly is key to keeping them fresh and delicious. Here are some easy tips:
- Cool Completely: Make sure your turtles are fully cooled after making them.
- Airtight Container: Place them in an airtight container at room temperature, separating layers with parchment paper to prevent sticking.
- Refrigeration: If you live in a warm climate, consider refrigerating them, but let them come to room temperature before serving for the best flavor and texture.
Did you know that properly stored chocolate can last up to four weeks? Check out expert tips from the Chocolate Makers Association for more insights.
Can I make sugar-free chocolate turtles?
Definitely! If you’re looking to make healthier versions of your homemade chocolate turtles, sugar-free chocolate options are widely available. Look for chocolate sweetened with stevia or erythritol. Additionally, consider using natural nut butters that don’t contain added sugars. This way, you can enjoy the same delicious taste without the extra guilt. Plus, many health-conscious recipes can offer inspiration—check out resources like EatingWell for ideas.
With these tips in hand, you’re well on your way to crafting the tastiest chocolate turtles!
Conclusion on Homemade Chocolate Turtles
Creating your own homemade chocolate turtles is not just a delightful culinary adventure; it’s also a fantastic way to express love and creativity. With just a few simple ingredients—caramel, pecans, and rich chocolate—you can whip up these delicious treats that are perfect for any occasion. Whether you’re indulging for yourself or sharing with friends, they’re sure to impress.
So, why not take the plunge and dive into this sweet, nutty world? A batch of homemade chocolate turtles can bring joy to those special moments—think birthdays, holidays, or just a cozy night in with a favorite movie. Don’t forget to explore variations or maybe even try pairing them with your favorite hot beverage for an extra touch of comfort. You won’t regret it!
PrintHomemade Chocolate Turtles: The Indulgent Treat You’ll Love
A delicious dessert recipe for homemade chocolate turtles, combining caramel and nuts with a rich chocolate coating.
- Prep Time: 15 minutes
- Cook Time: 20 minutes
- Total Time: 35 minutes
- Yield: 24 pieces
- Category: Dessert
- Method: Baking
- Cuisine: American
- Diet: Vegetarian
Ingredients
- 1 cup pecans
- 1 cup soft caramel candies
- 1 cup dark chocolate chips
- 1 tablespoon butter
Instructions
- Preheat the oven to 350°F (175°C).
- Arrange pecans on a baking sheet and toast for 8-10 minutes.
- Melt caramel candies with butter in a saucepan over low heat.
- Place toasted pecans into clusters on parchment paper.
- Spoon melted caramel over each pecan cluster.
- Melt dark chocolate chips and drizzle over the caramel.
- Allow to cool until set.
Notes
- Make sure to use fresh pecans for the best flavor.
- You can customize the type of nuts according to your preference.
Nutrition
- Serving Size: 1 piece
- Calories: 150
- Sugar: 12g
- Sodium: 50mg
- Fat: 8g
- Saturated Fat: 4g
- Unsaturated Fat: 2g
- Trans Fat: 0g
- Carbohydrates: 18g
- Fiber: 1g
- Protein: 2g
- Cholesterol: 10mg