Introduction to Cheeseburger Sliders
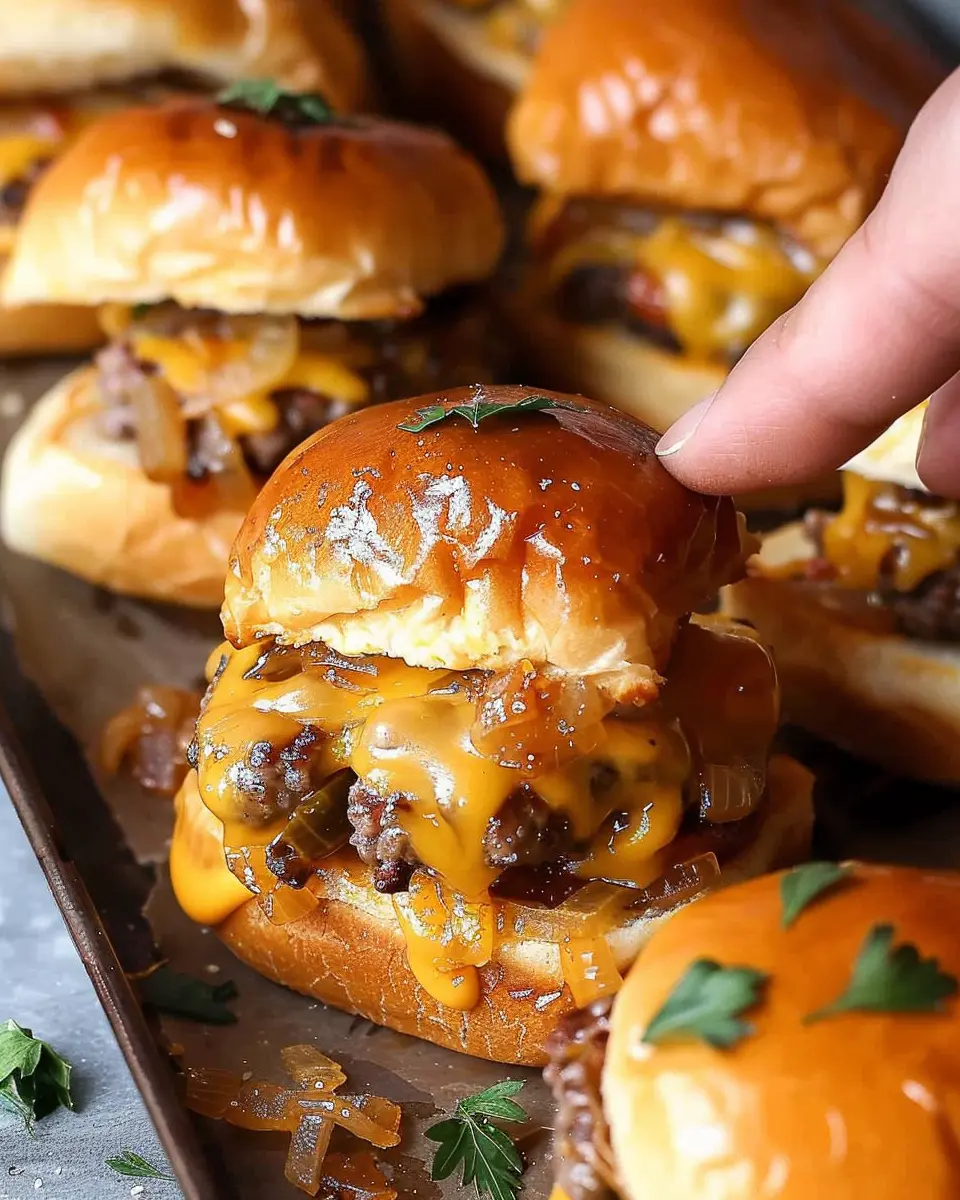
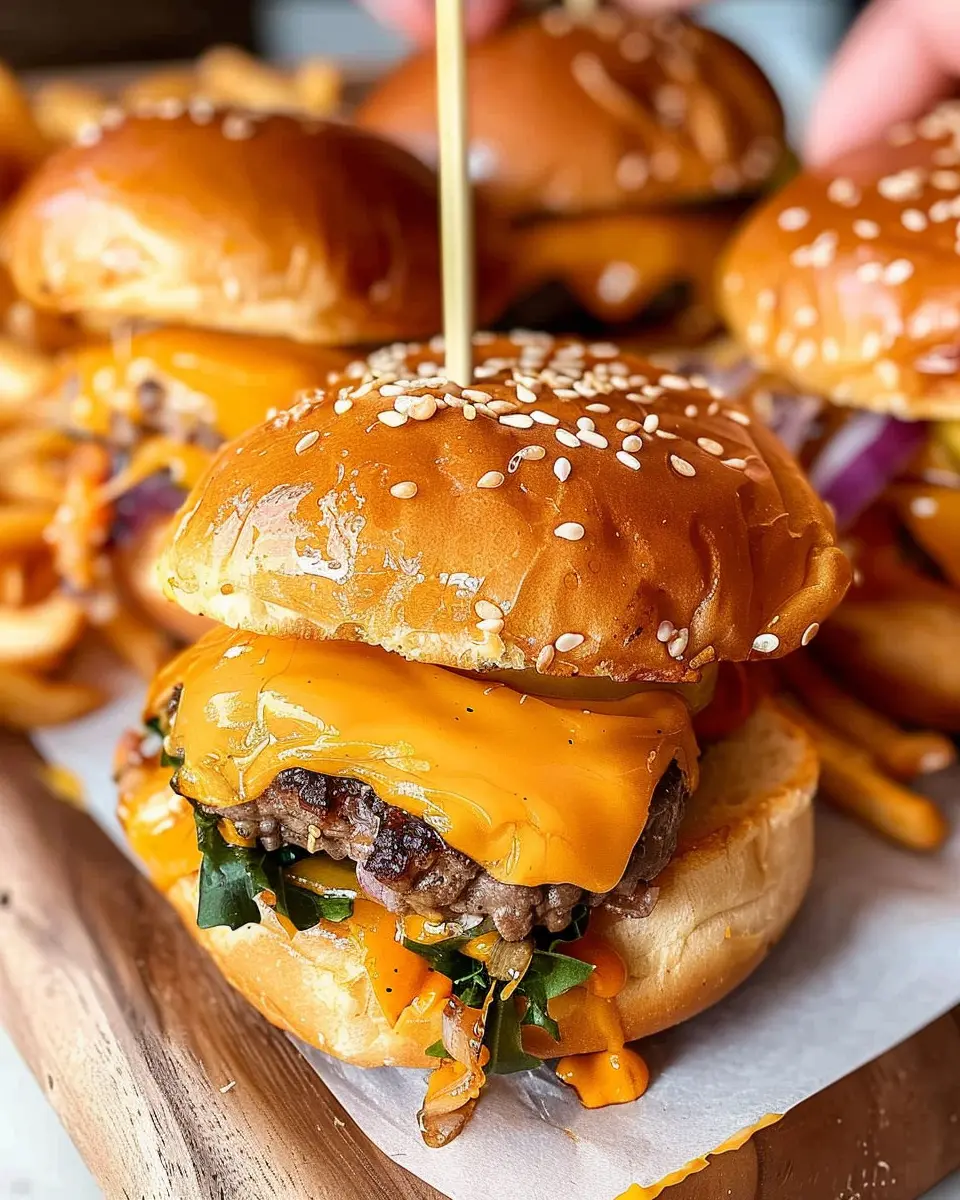
When it comes to throwing a casual gathering or simply enjoying a laid-back dinner at home, cheeseburger sliders stand out as a fun, delicious option that hits just the right spot. Imagine sinking your teeth into a warm, juicy mini-burger topped with melted cheese and all your favorite fixings. These little bites of heaven not only satisfy cravings but also bring a sense of comfort that’s hard to rival. Whether you’re hosting a game night, preparing a weekend meal for friends, or just craving something savory, these sliders provide the ultimate solution.
Why Cheeseburger Sliders are the Perfect Homemade Meal
What makes cheeseburger sliders so appealing? First off, they’re incredibly versatile. You can easily customize each slider with various toppings, from classic lettuce and tomato to adventurous options like jalapeños and BBQ sauce. Have you ever thought about hosting a slider bar with different condiments? It’s an interactive experience that can spark delightful conversation.
These sliders also cater to diet preferences. You can substitute beef for lean turkey or even veggie patties if you’re looking to cut down on meat. According to a report by the International Journal of Environmental Research and Public Health, offering plant-based options can enhance the appeal of your meal to diverse eaters. So, whether your friends are die-hard meat lovers or health-conscious eaters, there’s something for everyone at the table!
Additionally, they are easy to prepare. Unlike big, traditional burgers that often require grilling expertise, making sliders allows you to whip up a batch in the oven, freeing you to focus on enjoying time with your guests. A solid recipe can have them ready in under an hour—perfect for when unexpected guests drop by.
What’s more, they pair beautifully with an array of side dishes. Think crispy sweet potato fries, a fresh salad, or even some spicy nachos! Planning your meal becomes effortless and fun. For inspiration on sides that complement sliders, consider checking out The Spruce Eats for some fantastic ideas.
In short, cheeseburger sliders are not just a meal; they’re an experience. So grab your ingredients, and let’s dive into making these crowd-pleasers a reality!
Ingredients for Cheeseburger Sliders
Essential ingredients for delicious sliders
Creating the perfect cheeseburger sliders starts with quality ingredients. Here’s what you’ll need for a mouthwatering batch:
- Ground beef: Look for an 80/20 blend for optimal flavor and moisture.
- Slider buns: Choose soft, slightly sweet buns that will absorb all those delightful flavors.
- Cheese: American cheese melts wonderfully, but feel free to experiment with cheddar or Swiss if you’re feeling adventurous.
- Turkey bacon: A crispy addition that adds a savory crunch without all the grease.
- Chicken ham: This can serve as a delightful alternative to traditional meats, providing a lighter yet still savory flavor.
Optional toppings to customize your sliders
What’s a slider without the toppings? Personalize your cheeseburger sliders with:
- Lettuce and tomato for freshness
- Pickles for a tangy kick
- Onions (raw or grilled) for extra flavor
- Your favorite sauces—think ketchup, mustard, or even a zesty BBQ sauce for extra flair
Feel free to mix and match toppings to make these sliders your own! For more inspiration, check out this great article on popular burger toppings. Happy cooking!
Preparing Cheeseburger Sliders
Creating mouthwatering cheeseburger sliders is a fun way to elevate your next gathering or casual weeknight dinner. These mini burgers are perfect for sharing with friends and family. Ready to dive in? Let’s break down the preparation process with easy-to-follow steps.
Gather and prepare your ingredients
Before jumping into cooking, it’s essential to have everything at hand. Here’s what you’ll need:
- Ground Beef: 1 pound (look for a blend of 80/20 for flavor)
- Turkey Bacon: 6-8 slices (cooked and crumbled)
- Onions: 1 medium, finely chopped
- Cheese: 8 slices of your favorite cheddar, American, or a blend
- Slider Buns: 12 small buns (try whole grain for a healthful twist)
- Condiments: Ketchup, mustard, and any other toppings you love
- Salt and Pepper: To taste
Once you have everything, chop the onions and prepare your toppings. You can even slice the buns in advance if you’re feeling organized. It’s a good idea to set aside your favorite sauces and toppings so they’re ready to go when we start assembling our sliders.
Cook the ground beef and onions
Now it’s time to get cooking!
- Heat a skillet over medium heat and add a dash of oil.
- Add the chopped onions and sauté them until they’re translucent—about 3-5 minutes.
- Next, add the ground beef to the skillet. Use a spatula to break it up as it cooks. It should take about 6-8 minutes to brown completely. Remember, you want that beautiful sear that adds flavor.
- Season generously with salt and pepper. For an extra kick, try adding some garlic powder or smoked paprika during cooking.
- Once cooked, drain any excess fat and stir in your cooked turkey bacon for added texture and flavor.
When you’re ready to serve, make sure to use a meat thermometer to ensure it’s cooked to a safe internal temperature of 160°F.
Mix in sauces and seasonings
This step may be small, but it packs a punch in flavors. Once your beef and turkey bacon mix is fully cooked, you’ll want to add in your favorite sauces. A classic combination is a tablespoon each of ketchup and mustard. If you’re feeling adventurous, try a splash of BBQ sauce or a bit of Worcestershire sauce for depth.
To elevate the flavor even more, consider mixing in some shredded cheese directly into the beef mixture. Melt it just enough to create a cheesy goodness that oozes from each slider.
Assemble the sliders
Now comes the fun part—putting together your cheeseburger sliders! Here’s how to do it:
- Slice your slider buns in half and place the bottom halves onto a baking sheet.
- Spoon a generous amount of the beef mixture onto each bun. Then, place a slice of cheese on top.
- Finish with the top half of the slider bun. If you’re up for it, you can brush a little melted butter mixed with garlic over the tops for that additional golden touch.
Bake and achieve that golden brown finish
Preheat your oven to 350°F. Once it’s ready, you’ll bake your sliders for about 12-15 minutes, or until the cheese melts and the buns are lightly golden brown.
For the final touch, remove them from the oven and let them cool briefly. This is the perfect time to prepare your side dishes or set the table.
And there you have it—delicious cheeseburger sliders that are ready to impress! Serve them up with some crispy fries or a fresh salad for a complete meal. Enjoying them is an experience everyone will cherish!
For more tips on slider variations and toppings, feel free to check out this guide on maximizing your burger game. Happy cooking!
Variations on Cheeseburger Sliders
Creative Takes on Cheeseburger Sliders: Vegetarian Edition
If you’re looking to cater to a plant-based crowd without sacrificing flavor, these vegetarian cheeseburger sliders are just the ticket. Replace the beef patty with a delicious mixture of black beans, quinoa, and spices. Not only are these sliders nutritious, but they also pack a flavor punch!
- Black Bean Patties: Mash black beans with breadcrumbs, garlic powder, and onion. You’ll love how easy it is to whip up a tasty base.
- Toppings Galore: Load up on your favorite fresh toppings like avocado, lettuce, and tomato, or even a drizzle of chipotle sauce for a zesty kick.
Want to try something extraordinary? Check out our recommendations for homemade sauces to elevate these sliders even further here.
Kicking it Up a Notch: Spicy Cheeseburger Sliders
Add some heat to your cheeseburger sliders by mixing diced jalapeños or serrano peppers into your beef mixture. The spicy flavor profiles will leave your guests reaching for more! Here’s how to throw together a batch:
- Jalapeño-Infused Patties: Combine ground beef with chopped jalapeños and a sprinkle of cayenne pepper. This creates a fantastic contrast against the melty cheese.
- Spicy Toppings: Top them with pepper jack cheese and a zesty sriracha mayonnaise to amplify the heat.
Not only do spicy sliders appeal to adventurous palates, but they can also be a great conversation starter at any gathering. Who doesn’t love a fun food challenge?
Now that you’ve seen these fun variations, why not take a cue and customize your own cheeseburger sliders? The possibilities are endless!
Cooking Tips and Notes for Cheeseburger Sliders
Keeping sliders moist and flavorful
To ensure your cheeseburger sliders are packed with flavor and stay juicy, consider these tips:
- Use high-fat ground beef: Aim for an 80/20 blend of beef for maximum tenderness. The fat enhances flavor and moisture.
- Incorporate seasonings: Don’t shy away from seasoning the beef. A mix of salt, pepper, and garlic powder adds depth. You can also mix in Worcestershire sauce for an umami kick.
- Avoid overcooking: Keep an eye on your sliders—cook them until they’re just done. An internal temperature of 160°F will keep them perfectly juicy.
Best practices for storage
After your gathering, you might have some sliders left over. Here’s how to store them properly:
- Use airtight containers: Store your cheeseburger sliders in airtight containers to maintain freshness. If you have individual sliders, consider wrapping them in foil or plastic wrap for easy access.
- Refrigerate promptly: Aim to store the leftovers within two hours to prevent bacteria growth. Typically, they’ll last for up to 3–4 days in the fridge.
- Reheat with care: When you’re ready to enjoy leftovers, reheat in the oven or on the stovetop rather than the microwave, which can dry them out.
For further insights, check out resources on proper food storage from USDA. Enjoy your sliders fresh!
Serving Suggestions for Cheeseburger Sliders
Perfect pairings and side dishes
Cheeseburger sliders are not just a meal; they’re an experience! To elevate your slider game, consider these delicious side dishes that complement their savory goodness.
-
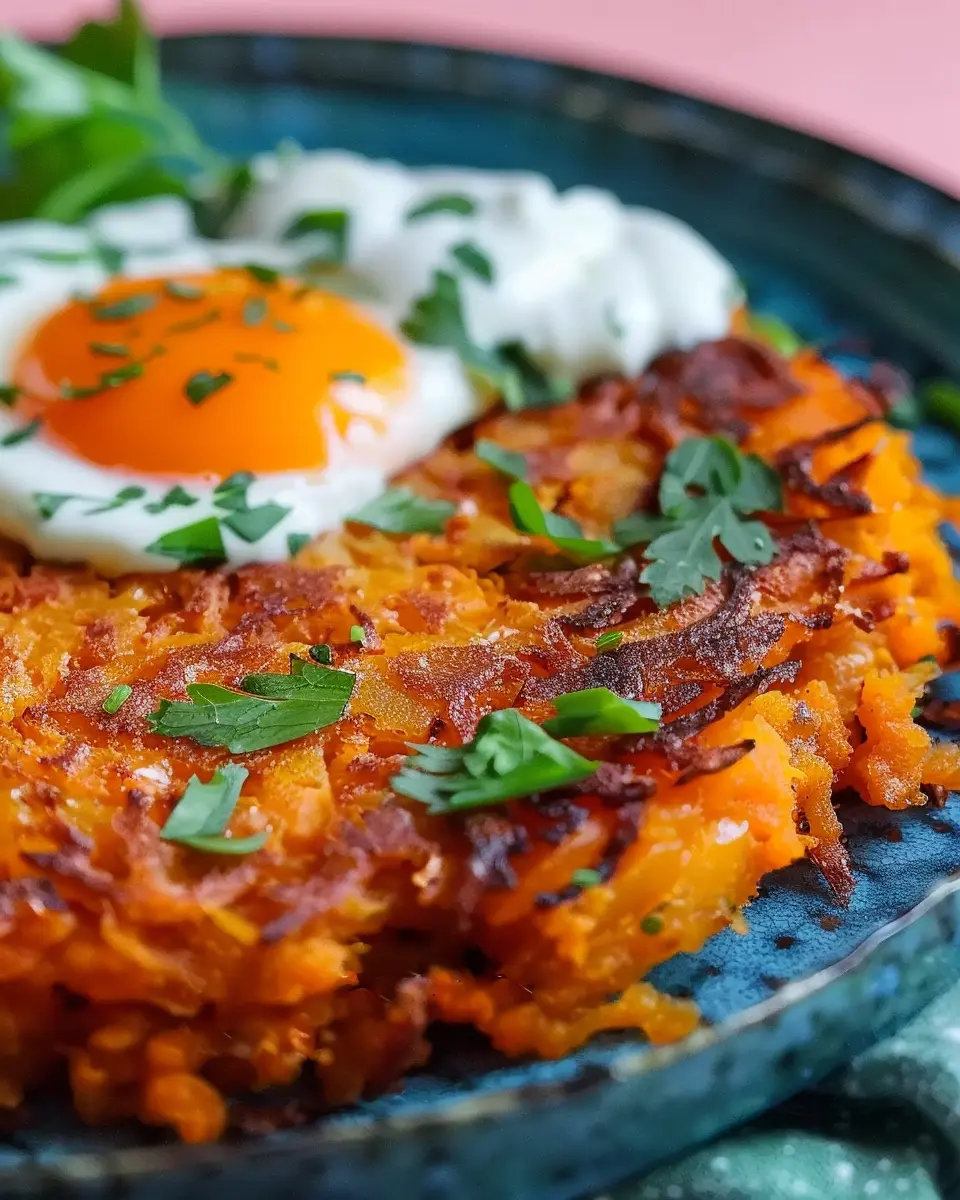
Classic Fries or Sweet Potato Fries: Nothing beats the crunch of perfectly fried potatoes! Sweet potato fries add a delightful twist and a hint of sweetness. Check out this sweet potato fries recipe for a fresh take.
-
Coleslaw: A creamy or vinegar-based coleslaw offers a refreshing contrast to the hearty flavors of cheeseburger sliders. Plus, it adds a satisfying crunch.
-
Veggie Platter: Serve an assortment of colorful vegetables with a zesty dip for a healthy balance. Think carrots, celery, and bell peppers!
-
Pickles: Don’t forget that tangy crunch. Game changers, pickles bring a burst of flavor that pairs beautifully with sliders.
-
Dipping sauces: Consider offering a variety like barbecue sauce, sriracha, or zesty mustard. A great way to personalize each bite!
With these options by your side, your cheeseburger sliders will not only be the star of the meal but will also create a memorable dining experience!
Time Breakdown for Cheeseburger Sliders
Preparation time
Getting ready for those delicious cheeseburger sliders doesn’t take much time at all! You’ll want to set aside about 15 minutes to gather your ingredients, chop any veggies, and mix your ground beef or turkey bacon. This is the perfect moment to grab a drink and catch up on your favorite podcast to make the prep more enjoyable.
Cooking time
Once everything is prepped, cooking these sliders takes around 20 minutes. You’ll be amazed at how quickly they come together on the stovetop or on a grill. Imagine the savory aroma wafting through your kitchen as they sizzle away!
Total time
In total, you’re looking at approximately 35 minutes from start to finish. That means in just over half an hour, you can satisfy your cravings with mouthwatering cheeseburger sliders! Perfect for a quick weeknight dinner or a weekend gathering.
For more tips on efficient cooking, consider visiting The Kitchn for insightful kitchen hacks and recipes.
Nutritional Facts for Cheeseburger Sliders
When you’re crafting the perfect cheeseburger sliders, it’s good to know what you’re serving up! These delightful mini sandwiches are not just delicious; they’re packed with nutrients that can fit into a balanced diet.
Calories
Each cheeseburger slider contains approximately 250–300 calories, depending on the toppings and condiments you choose. It’s a satisfying option that won’t weigh you down.
Protein
Loaded with flavor, a single cheeseburger slider provides around 12–15 grams of protein. This helps in muscle repair and keeps you feeling full longer, making it an excellent choice for your next gathering.
Sodium
One area to keep an eye on is sodium, as each slider can contain about 400–500 mg. Opt for lower-sodium cheese and condiments to maintain a healthier profile.
For more nutrition tips and slider variations, don’t forget to visit Healthline or check out USDA FoodData Central! Happy eating!
FAQs about Cheeseburger Sliders
Can I make sliders ahead of time?
Absolutely! Preparing your cheeseburger sliders ahead of time is a great way to simplify meal prep, especially for gatherings. You can assemble the sliders and store them in the fridge for a few hours before baking. Alternatively, consider fully cooking them and then reheating when it’s time to serve. Just be sure to protect them from drying out by wrapping or covering them properly.
What are some good dipping sauces for sliders?
Dipping sauces can elevate your sliders from delicious to extraordinary! Here are some tasty options to try:
- Barbecue Sauce: A smoky flavor is a favorite with cheeseburger sliders.
- Ranch Dressing: Creamy and herby, it pairs wonderfully with the savory beef.
- Spicy Mayo: Mix mayo with a splash of sriracha for a kick.
- Ketchup and Mustard: Classic condiments that never disappoint.
Each sauce brings its unique twist, so feel free to get creative!
How can I adjust portion sizes for a larger crowd?
Planning for a crowd? It’s easier than you think! Simply scale your ingredients up. If your original recipe makes 12 sliders, double or triple the meat and buns for a larger batch. Additionally, consider how many sides you’ll serve; sliders are filling but a side of veggies or fries can balance the meal. Don’t forget that keeping your cheeseburger sliders warm in a slow cooker can help keep them fresh and ready to go for guests!
For more tips on hosting gatherings, you can check out The Spruce Eats for a comprehensive guide on entertaining. Enjoy those sliders and make your hosting a breeze!
Conclusion on Cheeseburger Sliders
In wrapping up our journey into the world of cheeseburger sliders, it’s clear they’re a fantastic choice for young professionals looking for a blend of convenience and deliciousness. They’re quick to prepare and serve, making them perfect for busy weeknights or casual gatherings with friends. With flavors that please everyone and the ability to customize toppings, these sliders adapt to any palate.
Plus, they pair beautifully with a range of side dishes—think crispy fries or a fresh salad. If you want to impress without spending hours in the kitchen, cheeseburger sliders are your go-to option! For more tips on meal prep and quick recipes, check out The Kitchn or Food Network.
PrintCheeseburger Sliders: Juicy Turkey Bacon Delights for Everyone

These Cheeseburger Sliders are the perfect blend of juicy turkey and crispy bacon, making them a delightful treat for everyone at your gathering!
- Prep Time: 15 minutes
- Cook Time: 10 minutes
- Total Time: 25 minutes
- Yield: 12 sliders
- Category: Appetizers
- Method: Skillet
- Cuisine: American
- Diet: Gluten-free
Ingredients
- 1 pound ground turkey
- 4 ounces turkey bacon, cooked and chopped
- 1 teaspoon garlic powder
- 1 teaspoon onion powder
- ½ teaspoon salt
- ½ teaspoon black pepper
- 12 slider buns
- 1 cup shredded cheddar cheese
- ½ cup pickles, sliced
- ¼ cup ketchup
- ¼ cup mustard
Instructions
- In a large bowl, combine the ground turkey, chopped turkey bacon, garlic powder, onion powder, salt, and pepper. Mix well until fully incorporated.
- Form the mixture into small patties that fit the slider buns.
- Cook the patties in a skillet over medium heat for about 4-5 minutes on each side or until fully cooked.
- During the last minute of cooking, top each patty with shredded cheddar cheese and cover until melted.
- Assemble the sliders by placing each patty on a bun, topping with pickles, ketchup, and mustard.
- Serve warm and enjoy!
Notes
- Feel free to customize the toppings based on your preference.
- For added flavor, consider using different cheeses or adding sautéed onions.
Nutrition
- Serving Size: 1 slider
- Calories: 250
- Sugar: 3 grams
- Sodium: 550 milligrams
- Fat: 15 grams
- Saturated Fat: 4 grams
- Unsaturated Fat: 10 grams
- Trans Fat: 0 grams
- Carbohydrates: 20 grams
- Fiber: 1 gram
- Protein: 15 grams
- Cholesterol: 60 milligrams